
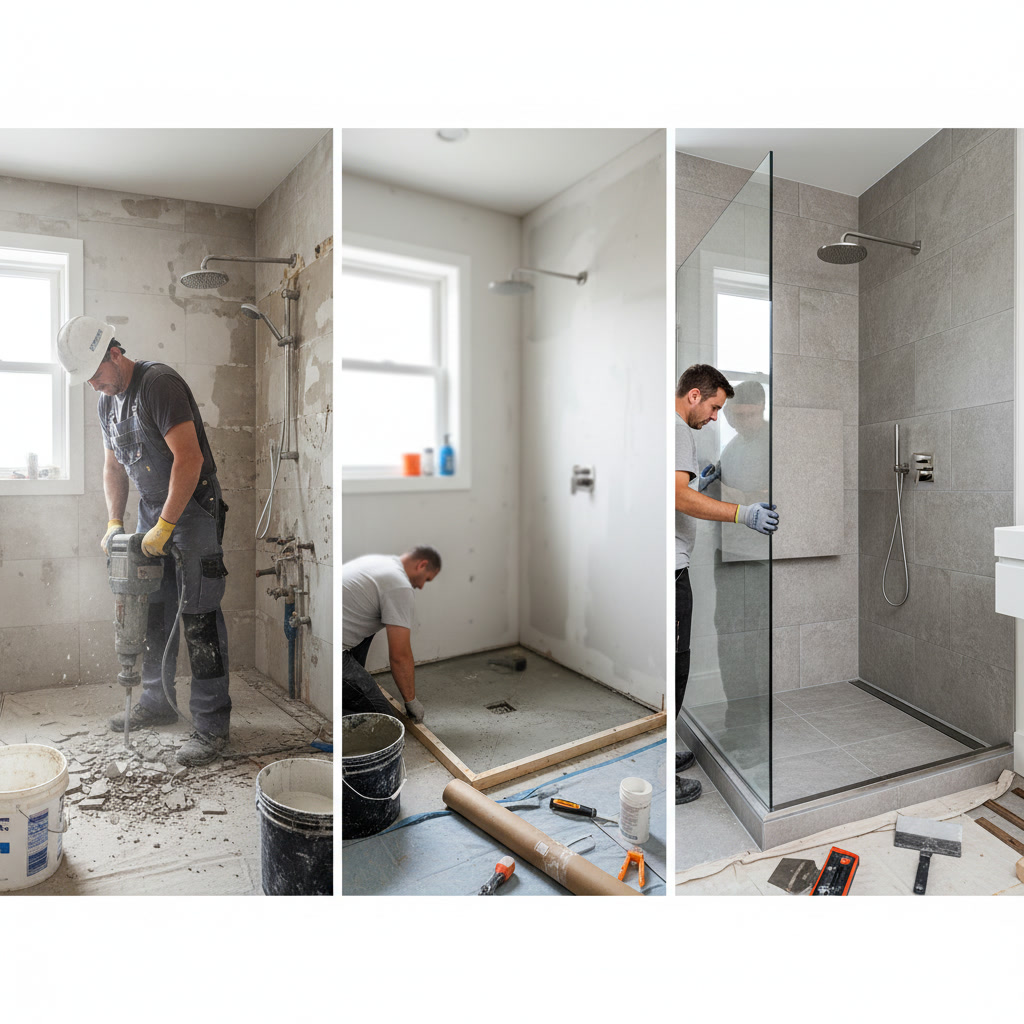
Walk-in shower installation follows a structured sequence designed to ensure proper drainage, prevent water damage, and deliver a finished product that holds up under daily use. The process typically spans three to five days and involves demolition, rough plumbing adjustments, substrate preparation, waterproofing, fixture installation, and finishing work. Each phase relies on accurate measurement and correct technique to avoid the common failures that lead to leaks, mold, and premature wear.
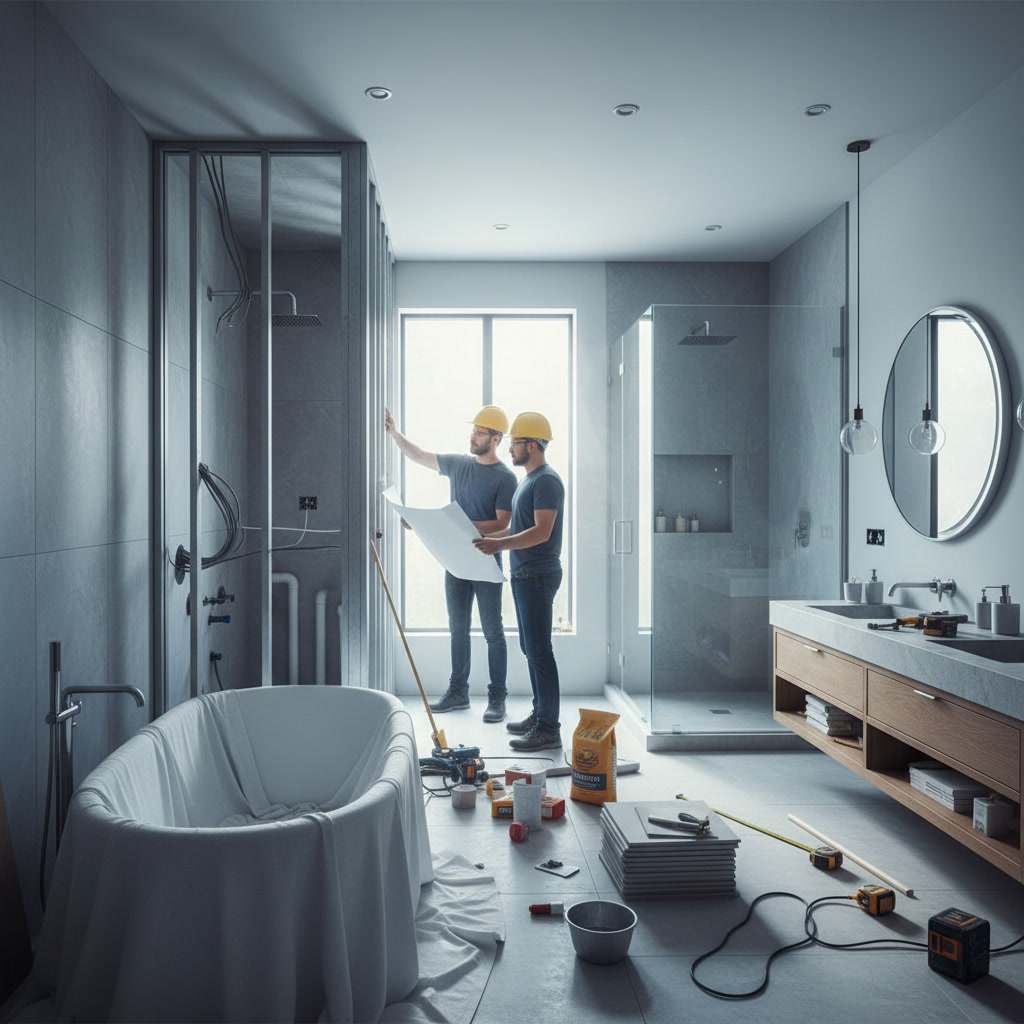
Transforming an outdated bathroom into a modern, accessible space requires more than removing old tile and dropping in a new pan. Professional installers coordinate multiple trades, address hidden issues as they surface, and sequence tasks to maintain structural integrity throughout the project.
Why Proper Preparation Determines Long-Term Performance
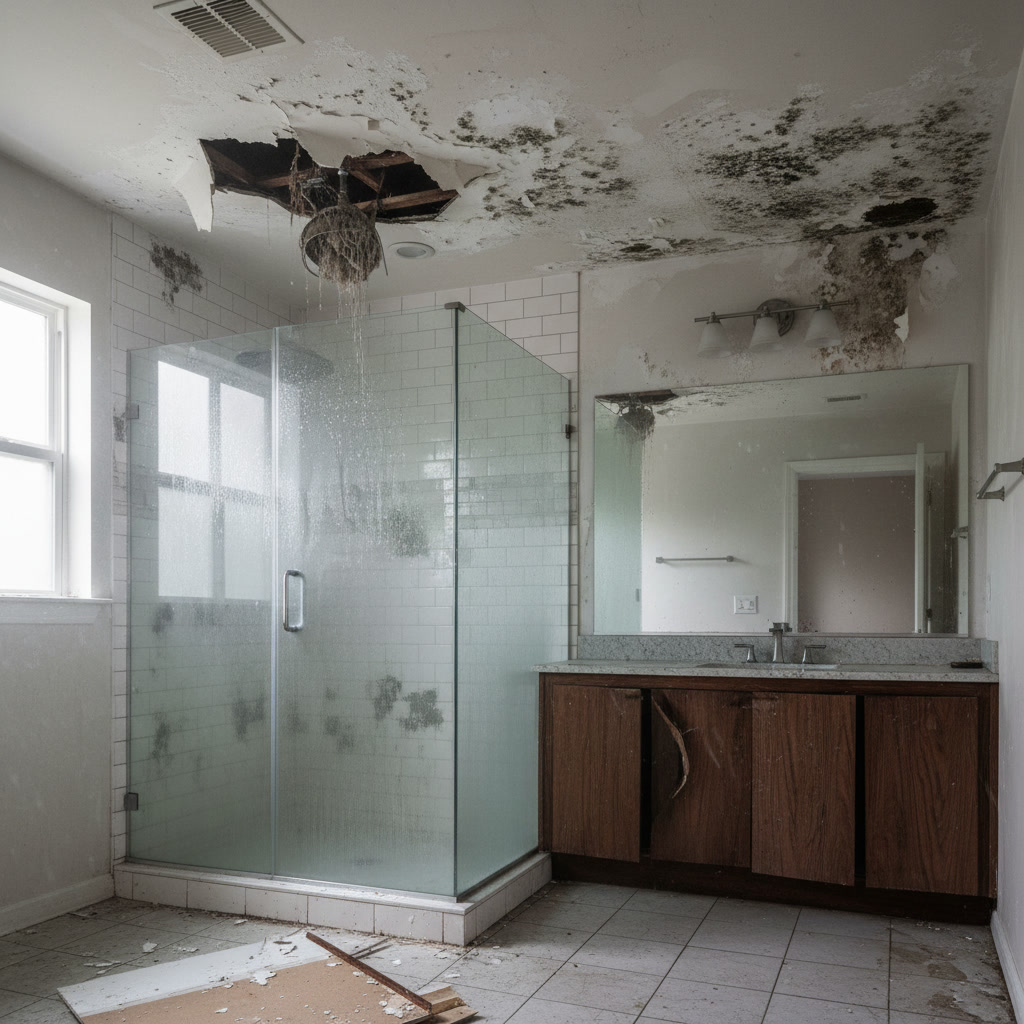
Most shower failures originate in the preparation phase, not the visible finish work. Water finds its way through gaps in waterproofing membranes, improperly sloped pans, or weak substrates that flex under weight. Homeowners in humid climates face additional risks when moisture infiltrates wall cavities and creates conditions for mold growth.
Taking time to prepare the substrate, verify plumbing connections, and apply waterproofing correctly adds hours to the schedule but prevents costly repairs years later. Rushing this stage to save a day or two creates vulnerabilities that compromise the entire installation.
Demolition and Inspection of Existing Structures
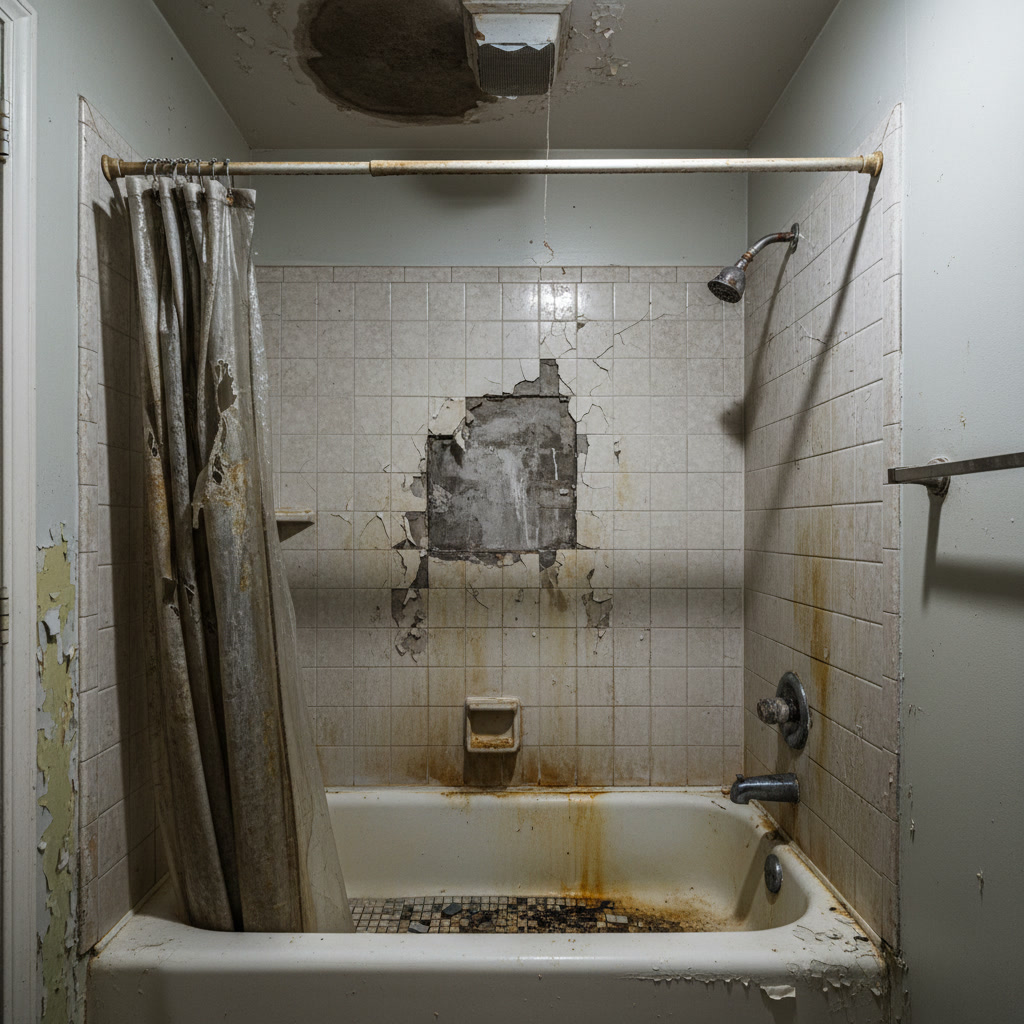
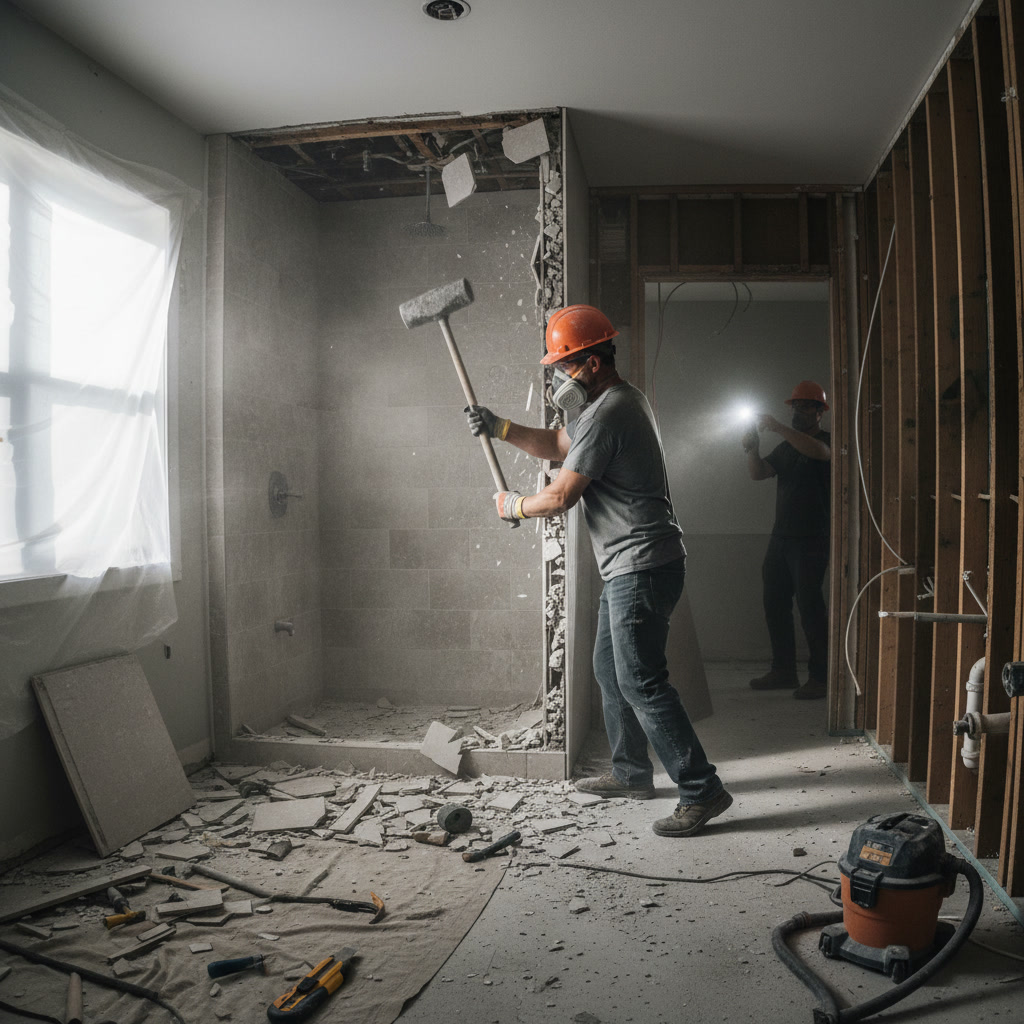
The first step removes everything down to the studs and subfloor. Crews pull out the old tub or shower, strip tile and backing materials, and expose framing members for inspection. This stage often reveals water damage, outdated plumbing, or framing that no longer meets code requirements.
Inspecting the subfloor and wall framing before moving forward allows installers to address rot, reinforce weak joists, and replace damaged sections. Skipping this inspection locks hidden problems into the new installation, where they continue to worsen out of sight.
Adjusting Plumbing and Drainage to Match the New Layout
Walk-in showers often require relocating drain lines, valve positions, or supply pipes to accommodate the new pan and fixture placement. A licensed plumber moves these connections, verifies proper slope on the drain line, and pressure-tests the system before the walls close up.
Drain placement determines how well the shower evacuates water. A line sloped at less than one-quarter inch per foot allows water to pool, creating slow drainage and standing water that invites mildew. Installers verify slope with a level before proceeding to the next phase.
Building a Solid Substrate for Waterproofing
Once plumbing passes inspection, crews install cement board or foam backer panels over the studs. These materials resist moisture and provide a stable surface for waterproofing membranes. Fasteners are placed every eight inches, and seams are staggered to prevent weak points.
The subfloor receives a mortar bed or pre-sloped pan that directs water toward the drain. This layer must cure fully before waterproofing begins. Rushing the cure shortens the lifespan of the entire assembly and risks cracking under load.
Applying Waterproof Membranes and Testing for Integrity
Waterproofing is the single most important step in any shower project. A liquid or sheet membrane covers every surface that will see water, including the pan, walls up to the showerhead, and all seams and corners. Installers extend the membrane six inches beyond the curb and up the wall to prevent water from migrating into adjacent rooms.
After the membrane cures, many professionals perform a flood test by blocking the drain and filling the pan with two inches of water. If the level drops over 24 hours, there is a leak that must be located and sealed before tile goes down. This step catches installation errors before they become invisible problems.
Installing the Shower Pan and Curb in Acadiana
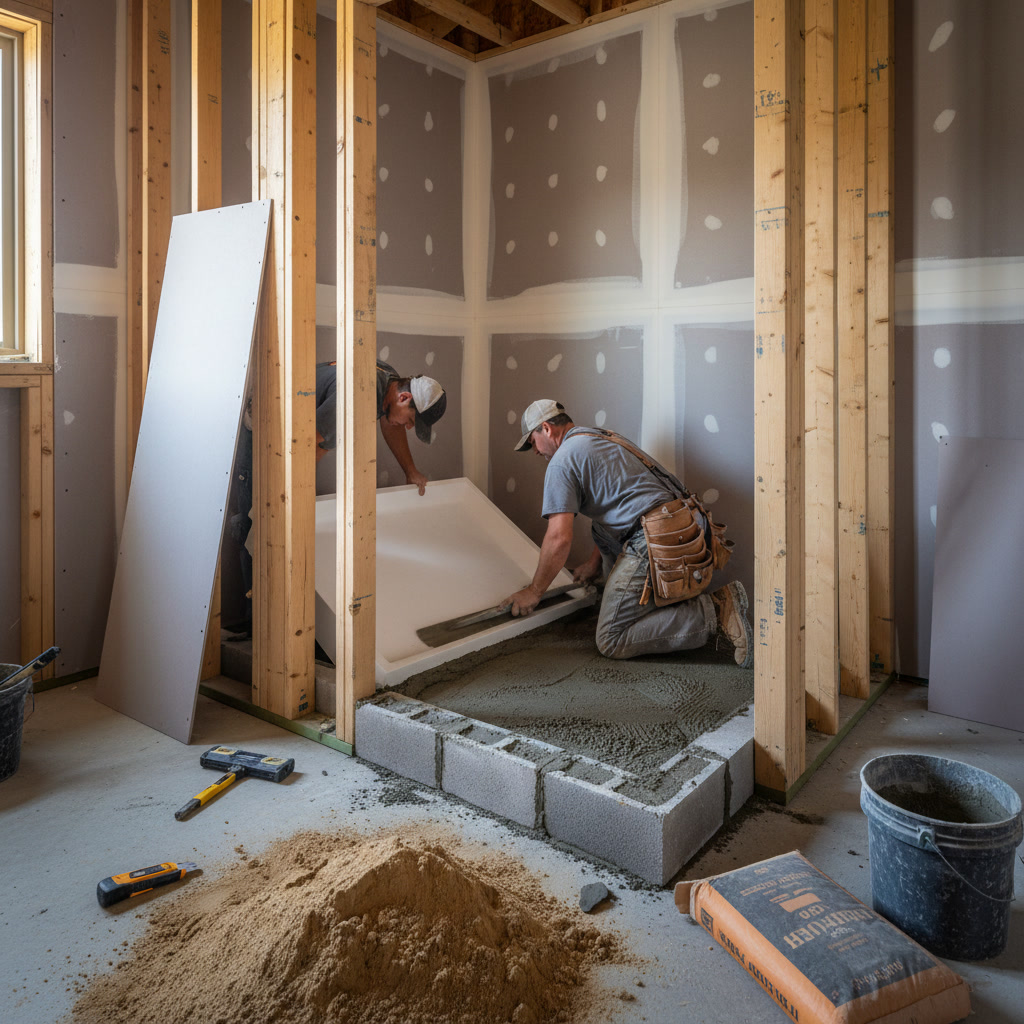
Pre-fabricated acrylic or fiberglass pans drop into place over the waterproof substrate and connect directly to the drain assembly. Custom tile pans require a mortar bed sloped toward the drain at one-quarter inch per foot. The curb, whether built from concrete blocks or a pre-formed unit, must be fully waterproofed on all sides and sealed to both the pan and the wall membrane.
Incorrect curb installation is one of the top causes of water escaping the shower enclosure. The curb must sit high enough to contain splashing, typically four to six inches, and bond to the pan with thinset and waterproof adhesive. Gaps or cracks at this junction allow water to seep under flooring in adjacent areas.
Setting Tile or Wall Panels With Correct Spacing and Adhesive
Wall panels made from acrylic or composite materials install quickly and eliminate grout lines, reducing maintenance. Tile installations require careful planning to ensure consistent grout lines, proper coverage of thinset, and full adhesion to the substrate. Installers back-butter each tile and use spacers to maintain uniform joints.
Tile layout starts with a dry run to identify cuts and minimize waste. Horizontal rows should be level, and vertical lines should be plumb. Variations here become obvious once the project is finished and cannot be corrected without tearing out the work.
For homeowners exploring similar upgrades, a complete shower remodel can address outdated fixtures, poor drainage, and accessibility concerns in a single project.
Installing Fixtures, Valves, and Accessories
Shower valves, spouts, and showerheads mount after wall surfaces are in place. Installers verify that valve trim sits flush with the finished wall and that all connections are sealed with plumber’s tape or pipe dope. Handheld sprayers, benches, and grab bars are secured to blocking installed during the framing stage.
Accessories mounted to tile or wall panels without proper backing will pull loose over time. Blocking behind the wall provides solid anchorage for grab bars and seats, ensuring they support weight safely. This is especially important in walk-in tub installations designed for aging-in-place needs.
Grouting, Sealing, and Caulking Critical Joints
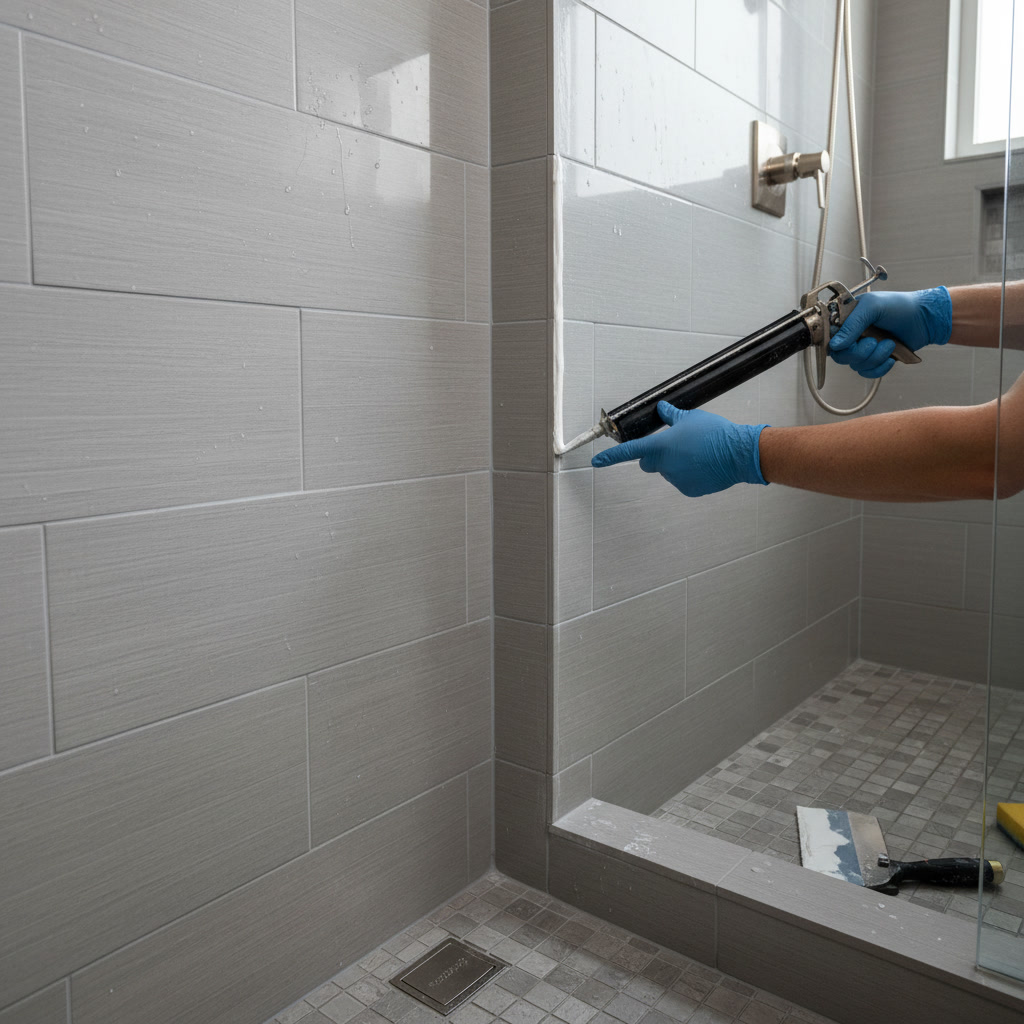
Grout fills the joints between tiles, but it is not waterproof on its own. After the grout cures, installers apply a penetrating sealer to prevent water absorption and staining. Silicone caulk seals the joints where the wall meets the pan, where the curb meets the floor, and around fixture trim.
Using grout in place of caulk at change-of-plane joints is a common error. Grout is rigid and cracks when materials expand and contract. Caulk remains flexible and maintains a watertight seal through temperature changes and settling. Re-caulking these joints every two to three years prevents water intrusion and extends the life of the installation.
Understanding the broader context of bathroom projects helps homeowners avoid pitfalls that lead to early failure. The article on why bathroom remodels fail in high humidity climates covers moisture management strategies that apply to every shower installation.
Final Inspection and Testing for Leaks
Before turning the project over, installers run water through the system and check every joint, seam, and connection for leaks. They verify that the drain evacuates water quickly, that the valve operates smoothly, and that all fixtures are secure. Any issues found at this stage are corrected before the final walkthrough.
A thorough inspection also includes checking that the door or curtain seals properly, that lighting and ventilation function as intended, and that all surfaces are clean and free of construction residue. This attention to detail reflects a commitment to delivering finished work that performs as expected from day one.
What Sets a Lasting Installation Apart
The difference between a shower that lasts 10 years and one that lasts 30 comes down to preparation, material quality, and installation technique. Proper slope, continuous waterproofing, and solid backing for fixtures are non-negotiable elements that determine long-term performance. Homeowners who understand these fundamentals can ask informed questions and recognize quality workmanship when they see it.
Acadiana Bath Concepts approaches every project with the same focus on correct installation and durable materials. Whether the work involves replacing an old tub with a barrier-free shower or upgrading outdated tile, each step follows proven methods that prevent common failure points. Homeowners throughout Lafayette and surrounding communities benefit from installations built to perform under real-world conditions, not just pass a final inspection.
If you are considering a shower upgrade and want work that stands up to daily use and humidity exposure, Acadiana Bath Concepts delivers honest craftsmanship backed by knowledge and experience. Reach out at +1 (337) 264-25853 to discuss your project and schedule a consultation.